
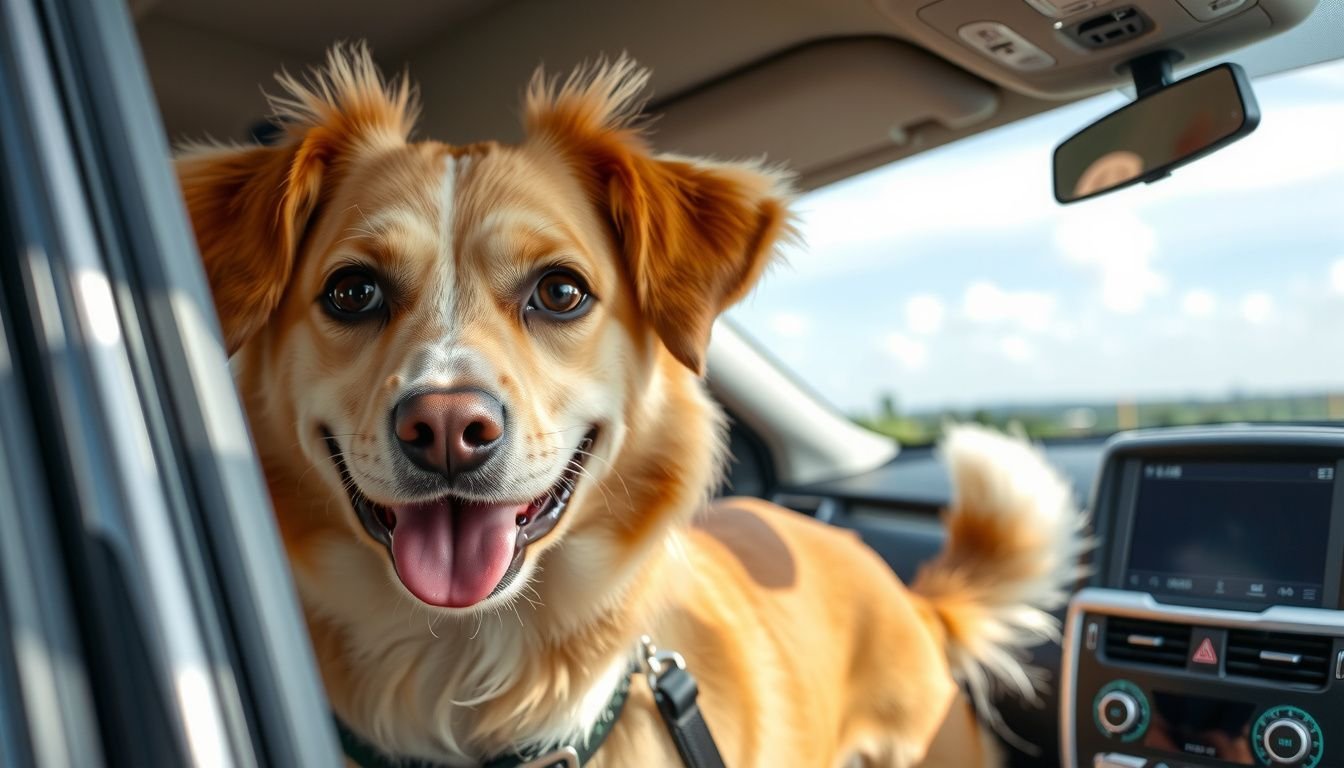
Many people think a quick vacuum is all it takes for how to get rid of dog hair in car—just plug in, suck up, and you’re set. But here’s the truth: most vacuums only skim the surface, leaving stubborn fur tangled in seat fabric, wedged into floor mats, and clinging to every crevice. You drive off, and within minutes, that hair’s back in your clothes and floating in the air.
The real answer? Getting your car truly hair-free means using a combination of the right tools, targeted techniques, and a bit of patience. You’ll need more than just suction; think static, rubber, and a touch of moisture.
Each surface—whether it’s leather, cloth, or carpet—needs a different approach for best results.
Let’s say you let your golden retriever ride shotgun for a weekend hike. Even after a solid vacuum session, you notice golden hairs still glinting in the sun, stuck to the upholstery. With the right method, you could’ve removed 90% more hair—saving yourself hours of frustration and keeping your car truly clean.
Here’s how you can do it, step by step.
Gather Essential Tools and Supplies
Let’s get real—success in tackling embedded dog hair hinges on having the right gear. You’ll want to gather several specialized tools before you begin. This isn’t like vacuuming crumbs; dog hair clings to fabric and hides in every seam.
Start with the basics. Invest in a high-powered handheld vacuum—cordless models offer flexibility, but corded ones often give stronger suction. Next, grab a rubber pet hair removal brush or a pumice stone.
The static from these tools lifts stubborn hair much better than standard bristle brushes.
- Vacuum cleaner with upholstery attachments
- Rubber gloves or pet hair remover mitts
- Lint rollers (preferably reusable, extra-sticky ones)
- Spray bottle with water or a light fabric-safe anti-static spray
- Microfiber cloths
Here’s a real-world example: If you’ve ever tried cleaning your backseat after a hiking trip with your Labrador, you’ve probably noticed that regular vacuums barely make a dent. But using a rubber glove, you can sweep your hand across the fabric and watch clumps of hair ball up for easy removal—no more endless vacuum passes.
Pro Tip: Keep these supplies in a small tote in your trunk, so you’re never caught off guard after dog park adventures.
Prepare Your Car for Effective Cleaning
Now, before you even plug in your vacuum, give yourself a head start by prepping your car. This makes the cleaning process smoother and stops hair from moving from seat to seat.
Start by removing all loose items—floor mats, seat covers, and anything in the backseat or cargo area. Shake out or wash these separately to avoid re-contaminating clean areas. If you use blankets or dog hammocks, take them out and launder them first.
- Open all doors for maximum airflow and visibility.
- Lay down old towels to protect clean surfaces as you work.
- Use a flashlight to spot hair in dark corners, like under seats or inside door pockets.
For example, if your golden retriever loves to ride with the windows down, hair will work its way into air vents and crevices. A quick inspection with a flashlight can reveal hidden clumps you’d otherwise miss.
Common mistake: Skipping this step means you’ll find yourself chasing hair around the car instead of actually removing it. Always start with a clean, organized workspace.

Vacuum Thoroughly to Remove Loose Hair
Now that your supplies are ready and your car’s prepped, it’s time to focus on the first real phase—removing as much loose hair as possible with your vacuum. This step lays the foundation for deeper cleaning, so don’t rush it. Use a vacuum with a strong motor and a brush or pet hair attachment for best results.
Start at the top—headrests and seat backs—then move down to cushions, footwells, and mats. Hair loves to hide in seams and crevices. Use the crevice tool to get into tight spots between and under seats.
Go slow and overlap your strokes to lift as much hair as possible.
Real-world example: If you regularly drive to the park with your Labrador, you’ll notice hair clinging to the seatbelt slots and door pockets. Attach the narrow nozzle, set the vacuum to its highest setting, and work those tricky areas until you see visible improvement.
Pro tip: Lightly misting the upholstery with water (never soak) can help weigh down hair, making it easier to capture.
Use Specialized Tools for Stubborn Hair
Even with a powerful vacuum, some dog hair just won’t budge. That’s where specialized tools step in. Tools like rubber pet-hair brushes, pumice stones, and lint rollers target embedded hair that vacuums miss.
Each tool works best on certain surfaces—use a rubber brush on fabric seats and a pumice stone for tough carpets.
For best results, drag the rubber brush or stone across the upholstery in short, firm strokes. The friction lifts stubborn hair to the surface, so you can collect and discard it easily. Lint rollers are perfect for finishing touches on headrests or seat backs.
Here’s a real-world example: After vacuuming, you might find short Husky hairs still clinging to your rear seat. Take a rubber brush and comb the seat in one direction—watch as the hair balls up for easy removal.
- Don’t press too hard with pumice stones—gentle pressure prevents fabric damage.
- Clean your tools frequently to maintain effectiveness throughout the process.
Specialized tools take your results to the next level and help you get rid of dog hair in car interiors that vacuums alone can’t tackle.
Apply DIY Solutions for Hard-to-Reach Areas
Let’s tackle those tricky corners and crevices where dog hair loves to hide. Even the best vacuums won’t always reach under seats, inside cup holders, or along door seams. That’s where a few classic DIY methods come in handy—and you likely have the tools at home.
First, grab a pair of slightly dampened rubber gloves. Slip them on and run your fingers along fabric seams, under seat rails, and between cushions. The rubber creates static, pulling stray hairs together for easy pickup.
You’ll be amazed at what comes loose, especially from areas the vacuum missed.
- Compressed air canisters: Blow hair out from vents and tight spaces. Just be careful not to force debris deeper.
- Packing tape or lint rollers: Press into corners, then peel away. The stickiness traps fine hair instantly.
- Old toothbrush: Loosen embedded hair in textured plastic or upholstery stitching.
Here’s a real-world tip: After a beach trip with your retriever, use a rubber glove to sweep sand and hair from under the back seat in one pass. It works fast and saves you from repeated vacuuming.

DIY solutions are especially effective for those last few stubborn hairs. Don’t skip this step if you want your car truly hair-free.
Finish Up and Inspect Your Work
Now, it’s time for a final pass to make sure your car is spotless. Look, even the most thorough cleaning can leave stray hairs behind, so a careful inspection is non-negotiable.
Start by shining a flashlight across the seats and carpets. This reveals fine hair that’s invisible in normal lighting. Wipe down all hard surfaces—dash, door panels, and consoles—with a microfiber cloth.
This picks up any lingering hair or dust stirred up during cleaning.
- Check under mats and seat edges for hidden clumps.
- Run your hand over the upholstery to feel for rough patches—these often hide embedded hair.
- Finish with a final pass of the vacuum or lint roller for any late discoveries.
Here’s a practical example: After a road trip with your husky, you might notice hair stuck around the seatbelt buckle. Use tape or a detail brush to lift it out—this level of detail is what sets a great job apart from a quick fix.
Once you’re satisfied, replace mats and return your supplies to storage. Your car should now be as close to hair-free as possible—ready for both dog and passenger comfort.
Maintain a Dog Hair-Free Car Moving Forward
Now that you’ve learned how to get rid of dog hair in car interiors, let’s keep your hard work from going to waste. Consistency is your best tool for preventing a return of stubborn pet hair.
Start by making your car less inviting to loose fur. Use washable seat covers or blankets tailored for pet travel. These are easy to remove and shake out after every trip.
If you drive with your dog often, a quick shake-out and weekly wash will dramatically reduce buildup.
Before your dog hops in, give them a thorough brush. Removing loose fur beforehand stops most hair at the source. For long-haired breeds, a five-minute brush before every ride can save you hours of cleaning.
- Keep a lint roller or rubber glove in your glove box for quick touch-ups.
- Vacuum your car at least twice a month—don’t wait until you see fur everywhere.
- Encourage your dog to ride in a designated spot to localize shedding.
For example, one client with a golden retriever uses a fitted hammock-style cover and brushes her pet before every drive. Her car’s backseat stays nearly fur-free, even during shedding season.
Stay proactive, and you’ll keep your car clean with far less effort week to week.
You’re Ready
Now you’ve got a proven approach to keeping your vehicle spotless, even after a road trip with your furry co-pilot. You’ve learned actionable techniques for how to get rid of dog hair in car upholstery, floor mats, and all those hard-to-reach spaces.
Here’s where your effort pays off: Picture this—after following these steps, you invite a friend to ride along. They slide onto the seat, look around, and can’t believe a dog ever set paw inside. That’s the difference a thorough, consistent routine makes.
What’s next? Grab your tools and put these steps into action on your next cleaning day. With practice, you’ll spend less time battling fur and more time enjoying a fresh, inviting car—no matter how many miles you travel together.
Ready for a cleaner ride? Get started today and enjoy the results every time you open your car door.