
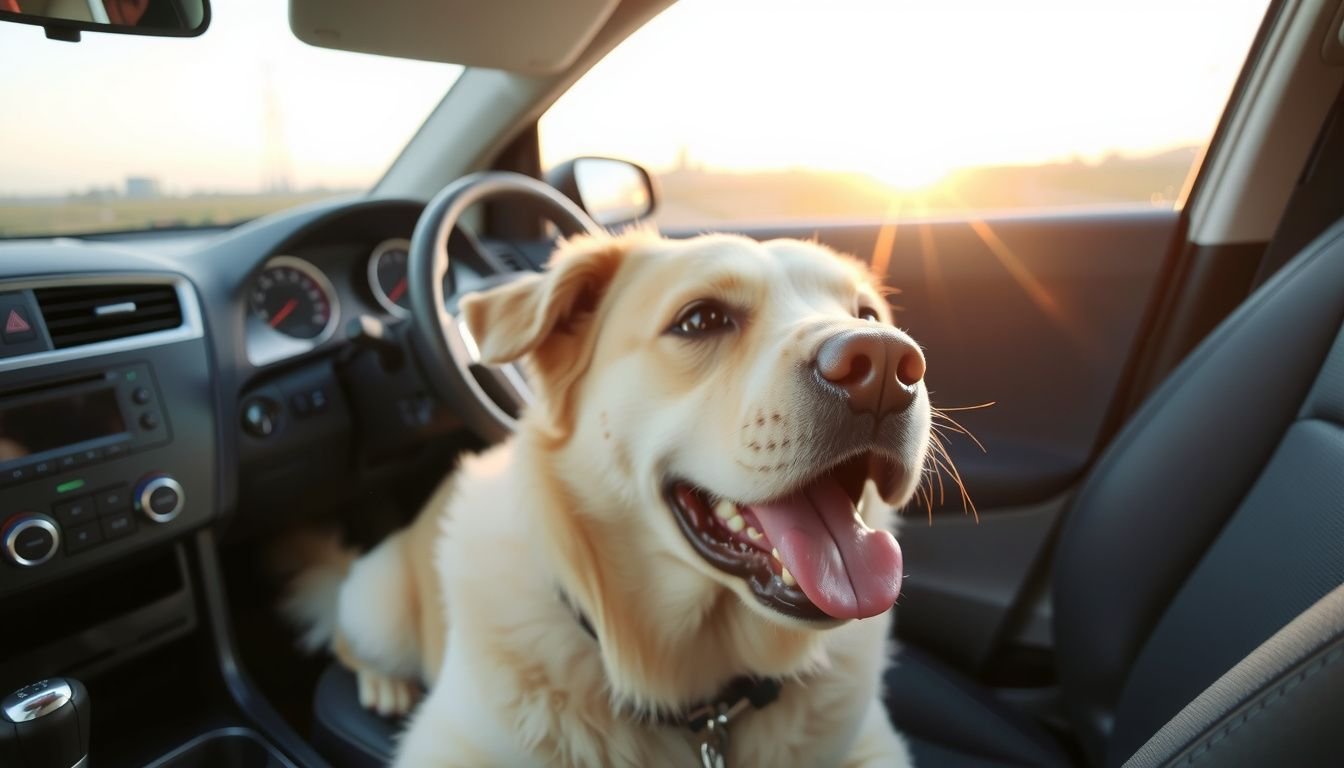
If you’ve ever wondered how to get dog fur out of car upholstery, you’re not alone. Pet owners know the struggle: fur clings stubbornly to seats, carpets, and every nook inside a vehicle. Even after a standard vacuum, fine hairs remain woven into fabric, refusing to budge.
The right approach, however, transforms this tedious chore into a manageable routine. This guide delivers actionable steps, recommended tools, and smart tricks for fur-free results—whether prepping for a ride-share gig or simply restoring your car’s interior. Look, even after a weekend hike with a shedding Labrador, there’s a way to get every last hair out.
Let’s break down the process with easy-to-follow techniques anyone can use.
Gather Essential Tools and Supplies
Before tackling dog hair, it’s crucial to collect the right supplies. Using the wrong tools wastes time and energy, and may leave fur behind. Start by assembling the following items:
- High-powered vacuum cleaner with hose and upholstery attachments
- Rubber pet hair brush or a pumice stone
- Microfiber cloths (slightly dampened for best results)
- Spray bottle filled with water or a diluted fabric softener solution
- Compressed air can or a detailing brush for tight areas
- Lint rollers for quick touch-ups
Pro tip: Keep these tools together in a tote for easy access. Many pet owners, after repeated cleaning, opt to keep duplicates in their trunk—ready for impromptu fur battles post-dog park.
Prepare the Car Interior Before Cleaning
Preparation sets the stage for effective hair removal. Begin by removing all loose items: floor mats, seat covers, blankets, and any pet accessories. This step exposes underlying fur and ensures no area is overlooked.
Shake out or beat removable fabrics outdoors, dislodging trapped hair before bringing them back inside. For stubbornly coated mats, a quick vacuum followed by a rubber brush works wonders. Lower or fold down rear seats if possible, maximizing access to every crevice.
Pro tip: Crack the windows or open doors for ventilation—this prevents airborne fur from resettling as you work. Skipping this prep step can double your cleaning time and frustration.
Vacuum Thoroughly to Remove Loose Fur
With all surfaces exposed, start by vacuuming using a high-powered unit with upholstery and crevice tools. Move slowly, overlapping strokes to lift as much loose fur as possible. Focus on high-traffic zones: seatbacks, footwells, and under seats.
Use a brush attachment for fabric seats, as it agitates and lifts embedded hair. For leather or vinyl, opt for a soft nozzle to prevent scratches. Empty the vacuum canister frequently to maintain suction power.
Real-world example: After a beach trip with two Golden Retrievers, an owner found that alternating between the main vacuum and a handheld cordless model helped reach both large and tight spots efficiently.
Use Specialized Brushes to Lift Embedded Hair
Some fur resists even the most powerful vacuums. That’s where rubber pet hair brushes, pumice stones, or even rubber gloves come in. The static and friction created by these tools pull hairs free from fibers.
- Run the brush or stone in short, firm strokes over seats and carpets.
- Collect fur into piles, then vacuum up the clumps.
- For stubborn spots, slightly dampen the brush or glove to enhance grip.
Avoid over-aggressive scrubbing, which can fray fabric. Many users swear by a simple rubber glove—just slide it on, rub the upholstery, and watch fur gather up effortlessly.
Apply Dampening Techniques for Stubborn Fur
Moisture loosens static-clinging hair and makes collection easier. Fill a spray bottle with water or a mix of one part fabric softener to three parts water. Lightly mist the target area—avoid soaking, as excess moisture may cause odors or mold.
- Let the solution sit for 2-3 minutes.
- Wipe the area with a microfiber cloth, moving in one direction.
- Follow up with a vacuum or lint roller to capture loosened hair.
Don’t skip this step for woven fabrics or stubborn areas like headliners. A little dampness makes a big difference, especially after a shedding season or road trip.
Tackle Crevices and Upholstery with Detailing Tools
Pet hair loves to hide in seams, seat tracks, air vents, and between cushions. Standard vacuums often miss these zones. Use a combination of detailing brushes and compressed air to dislodge fur.
- Run a narrow brush along seams and edges to pull out buried hair.
- Blast compressed air into hard-to-reach crevices, forcing fur outward.
- Quickly vacuum up dislodged debris before it resettles.
For stubborn seatbelt or cup holder areas, wrap a microfiber cloth around a butter knife or plastic spatula for a targeted swipe. Missing these trouble spots leads to lingering odors and messy build-up.
Maintain a Fur-Free Car with Preventive Measures
Once the car is clean, prevention becomes key. Invest in washable seat protectors or pet-specific covers—they catch hair before it embeds in upholstery. Regularly brush your dog before car rides to minimize shedding inside the vehicle.
- Use lint rollers or handheld vacuums for quick cleanups after every trip.
- Consider crate training or using a travel kennel for heavy shedders.
- Establish a routine: a weekly five-minute touch-up prevents heavy build-up.
Pro tip: Keep a travel pack with a mini brush and lint roller in your glove box. Consistent habits save hours over the long run and keep your car looking professional—essential for ride-share and pet transport drivers.
You’re Ready
Armed with these strategies and tools, anyone can master the challenge of dog fur in car interiors. Tackling fur removal step-by-step transforms a dreaded task into a straightforward routine. Continued prevention and regular spot cleaning will keep your car presentable—and free of lingering pet odors or allergens.
Now, whether prepping for clients or just aiming for a cleaner ride with your furry companion, you’ve got a reliable system to keep every surface spotless after every trip.