
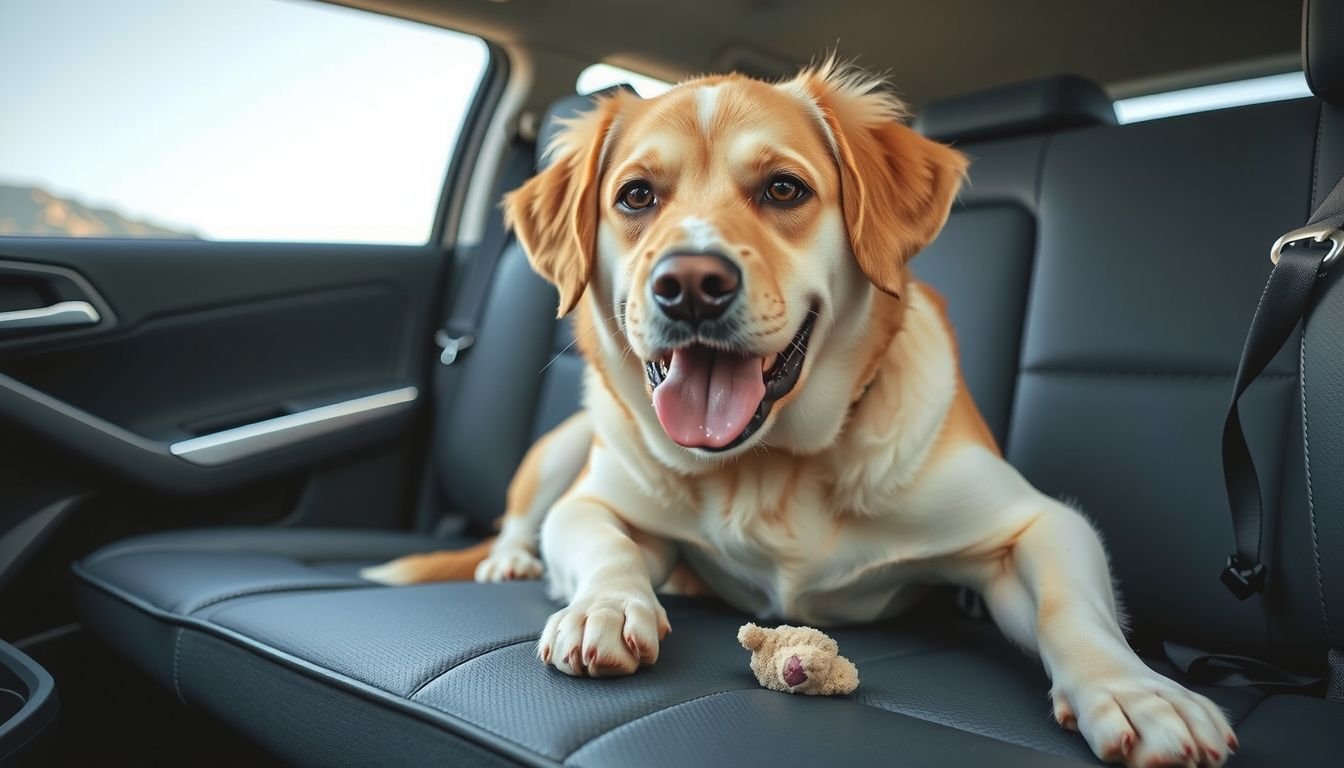
Dog hair on your car seats isn’t just unsightly—it clings, weaves into fabric, and seems to multiply overnight. If you’re searching for clear, actionable advice on how to get dog hair out of car seats, you’ve landed in the right place. With the right approach, you can restore your interior and keep it clean, even if you drive with your furry friend every day.
This step-by-step guide walks you through proven techniques, from prepping your car to using specialized tools. Whether you’re dealing with the aftermath of a weekend hike or daily commutes with your dog, you’ll find solutions here. Look, you don’t need to be a detailing pro—just follow these steps and you’ll see real results by the end of the day.
Gather the Right Tools and Supplies
Before you start, make sure you have everything you need. Having the right tools will make the process easier and far more effective. Here’s what to gather:
- Rubber gloves or pet hair removal gloves
- Stiff-bristled brush
- Handheld or shop vacuum with upholstery attachment
- Lint roller or packing tape
- Spray bottle with water or fabric softener solution
Optional but helpful: a pumice stone, squeegee, or compressed air. Each tool targets different types of hair—short, embedded, or loose. If you’re tackling a particularly hairy back seat after a road trip, you’ll want all the options available.
Prepare Your Car Interior for Cleaning
Start by taking out floor mats, blankets, or seat covers. Shake these outside to remove loose hair. Open all car doors or windows for better ventilation and lighting.
Move the front seats forward and backward to expose all surfaces.
Remove any personal items like bags, electronics, or toys. This streamlines the cleaning process and prevents anything from getting damaged. If your seats are leather or faux leather, check manufacturer instructions before applying water or cleaning solutions.
Pro tip: If you regularly use seat protectors, clean them separately and wash according to care instructions—they often hold the most stubborn hair.
Loosen Dog Hair with a Brush or Glove
Put on your rubber glove (or pet hair removal glove) and dampen it slightly. Then, run your hand firmly over the seat in one direction. The glove’s texture creates static, helping hair lift from the fabric and clump together.
If you prefer, use a stiff-bristled brush with short, quick strokes. Work from top to bottom and focus on seams or crevices where hair collects. This step is essential for loosening embedded hair before vacuuming.
Practical Example: After a muddy park visit, you notice hair stuck in the seat corners. A damp glove, wiped in small circles, pulls out even the grimiest clumps—saving you serious vacuuming time.
Vacuum Car Seats Thoroughly
Now, grab your vacuum with an upholstery or crevice tool. Start at the top of each seat and work your way down. Use overlapping, slow passes for maximum suction.
- Pay special attention to seams and seat edges
- Pull back seat belts and vacuum underneath
- Use the crevice tool for tight spots and under seat tracks
Don’t forget the backs of seats and side panels—hair migrates everywhere. Empty the vacuum canister regularly to keep suction strong. This step removes 70-80% of visible hair if done methodically.
Use Specialized Tools for Stubborn Hair
If you’re still seeing hair woven into the fabric, it’s time for the heavy hitters. Try these:
- Pumice stone: Gently drag across the seat. The abrasive surface grabs and lifts hair out of upholstery.
- Rubber squeegee: Pull firmly across fabric to clump and lift fine hairs.
- Packing tape or lint roller: Press onto the seat and peel away embedded strands.
Always test abrasive tools on a small, hidden area first. Overly aggressive scrubbing can damage delicate fabrics, so go slow and check your progress as you work.
Apply DIY Solutions for Deep Cleaning
If your car seats still feel hairy or look dingy, try a homemade cleaning solution. Mix a few drops of fabric softener with water in a spray bottle (about 1:10 ratio). Lightly mist the seats—don’t soak them.
Let it sit for a few minutes, then wipe with a microfiber cloth or repeat glove brushing. Fabric softener helps reduce static and loosens stubborn hair. For leather seats, use a slightly damp cloth and avoid harsh cleaners.
Quick tip: Always allow seats to dry fully before replacing mats or covers to prevent mildew or odors.
Prevent Future Dog Hair Buildup
The best way to avoid constant cleaning? Stop hair before it starts. Use these prevention strategies:
- Install washable seat covers or blankets
- Brush your dog before every car ride
- Keep a lint roller in your glovebox for fast spot cleaning
- Consider a portable pet barrier to limit access to certain areas
Regular grooming significantly reduces shedding. A seat cover, tossed in the wash each week, saves hours of cleaning time down the road.
Maintain Clean Car Seats Regularly
Establish a routine to keep dog hair at bay. Plan a quick clean after every few trips, not just when seats look hairy. Shake out covers, brush seats, and run a vacuum over high-traffic areas.
Wipe seats with a damp microfiber cloth to pick up stray hairs between deep cleans. If you notice static buildup, lightly mist with water before brushing or vacuuming.
Consistency makes the job easier and prevents hair from embedding deeply. Set reminders or add car cleaning to your dog’s grooming schedule for best results.
Start Here
You now have a complete, practical routine for tackling dog hair in your car. Start by gathering your tools and prepping the interior. Work methodically—loosen, vacuum, and target stubborn spots with specialized tools.
Remember, prevention is key: seat covers and regular grooming go a long way. Maintain this routine, and you’ll spend less time cleaning and more time enjoying rides with your dog. Ready?
Grab your gloves and get started—you’ll be amazed at the difference after just one session.