
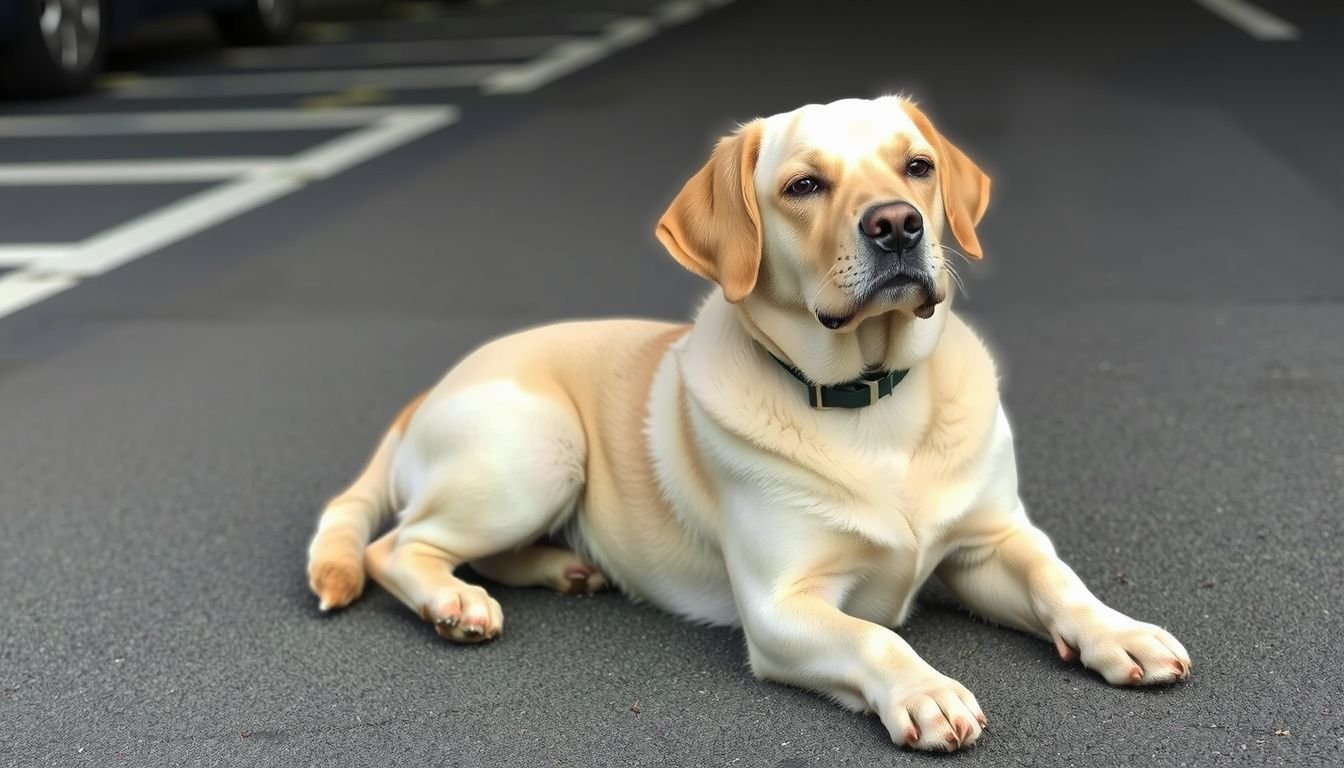
You open your car door, ready for a quick drive, but the seats are blanketed in dog fur. No matter how many times you swipe or vacuum, those stubborn hairs cling to every surface. If you’ve ever asked yourself how to remove dog fur from car seats, mats, or even the dashboard, you’re not alone.
Look, this is a challenge for almost every dog owner. After a trip to the park, you might find fur tangled in seatbelts, wedged in air vents, and ground into the carpet. Pet hair seems to defy every cleaning effort, sticking around long after your pup jumps out.
A client once shared how, after a single beach outing, her black Labrador’s fur was still showing up in her car months later—despite weekly cleanings.
This guide walks you through clear, effective steps for tackling dog hair in your car. You’ll learn proven methods, must-have tools, and simple routines to keep your car looking sharp—no matter how much your furry co-pilot sheds. Let’s get started and make your next ride hair-free.
Gather Essential Tools and Prepare Your Car
Let’s get hands-on. Before you tackle the challenge of how to remove dog fur from car interiors, you need the right tools and a prepped workspace. Jumping in without preparation often leads to frustration and missed spots—so, set yourself up for success from the start.
First, assemble these must-have items:
- High-powered handheld vacuum (preferably with a turbo brush or pet hair attachment)
- Rubber gloves (the textured kind works best)
- Lint roller or sticky tape
- Spray bottle with water (a fine mist, not a soak)
- Pet hair-specific brushes or pumice stone
- Microfiber cloths
Check your car’s owner manual for any fabric-specific restrictions, especially if you have leather or specialty seat covers. Some materials are more delicate and might require gentler handling or different tools.
Now, clear out the car. Remove floor mats, loose items, and anything that could block your access to fur-covered surfaces. Lay the seats back or forward as needed for better reach.
Open all doors to maximize ventilation—pet fur can get airborne quickly during cleaning.
Pro tip: Slightly dampen the upholstery by misting with water. This helps weigh down loose fur and prevents it from floating around, making collection easier. Never soak the seats; too much moisture can cause mildew or damage electronics under the seats.
Here’s a real-world example: One of my clients—a dog walker—keeps a cleaning kit in her trunk. After each trip, she whips out a rubber glove and a lint roller to do a quick sweep. This routine prevents buildup and cuts deep cleaning time in half.
You can borrow this strategy for regular maintenance.
By prepping both your tools and your vehicle, you’ll save time, avoid damage, and get a more thorough result.
Vacuum and Loosen Pet Hair from Upholstery
With your gear ready and your car cleared, you’re set to start removing fur. The vacuum is your first line of defense, but technique matters just as much as power.
Begin by vacuuming every fabric surface—seats, carpets, door panels, even the headliner. Move slowly and use overlapping passes. Don’t forget to use the crevice tool for tight seams and corners.

If your vacuum includes a turbo brush or pet hair attachment, put it to work; these are designed to lift stubborn fur that standard nozzles often miss.
Now, here’s where you boost your effectiveness. Many types of embedded fur resist even the best vacuums. Put on your rubber gloves and run your hands over the upholstery in short, brisk strokes.
The friction from the gloves will pull up fur that’s woven into fibers. For even better results, slightly dampen the glove first—just a touch of moisture helps fur cling to the glove and ball up for easy collection.
If you’re working with especially stubborn fur, grab your pet hair brush or a pumice stone. Gently rub it along the seats and carpets. These tools create static and physical agitation, pulling up layers of hair that a vacuum can’t reach.
Always test a small, hidden area first—some tools can scuff delicate fabrics.
As you work, periodically vacuum up the loosened hair. This prevents fur from resettling onto already-cleaned areas. Work methodically: finish one seat or section before moving on to the next.
If you notice fur flying around, pause and lightly mist the area again.
Here’s a practical example: I once detailed a minivan after a cross-country trip with three golden retrievers. The owner tried vacuuming alone but ended up frustrated by matting and embedded fur. By alternating between a damp glove and a pumice stone, I was able to lift almost all the hair in half the time—no expensive gadgets required.
Stay patient—dog fur loves to cling, but with the right process, you’ll notice visible progress after each pass. The key is persistence and a systematic approach.
Use Specialized Techniques to Remove Stubborn Fur
Let’s face it—sometimes, even after a thorough vacuum, your car’s upholstery still clings to stubborn pet hair. Those individual strands hide in seams, weave into fabric, and refuse to budge. At this stage, you’ll need to up your game with specialized techniques designed for deep cleaning.
Start with a rubber glove method. Put on a slightly damp household rubber glove and run your hand over the seats and carpets. The friction and static generated by the rubber attract hair, forming easy-to-remove clumps.
This works wonders on cloth seats, door panels, and even the trunk.
If you prefer a tool, a pet hair removal brush or a pumice stone can be your best friend. Gently drag the brush or stone across the fabric. The abrasive texture grabs hair that vacuums miss.
Just avoid using it on leather or delicate trim—stick to durable upholstery fabrics.
For the ultimate static-busting hack, use a dryer sheet. Wipe down each surface, especially headrests and seat backs. Not only does this help loosen fur, but it also neutralizes static, making future cleanup easier.

As a bonus, your car will smell fresher.
Here’s a real-world example: Emily, a dog owner with a golden retriever, swears by a combination of a damp rubber glove and a pet hair brush. She tackles her car’s seats with the glove, then follows up with the brush for any remaining hair. It takes her about 15 minutes, and she gets results a standard vacuum alone can’t match.
- Pro Tip: Always work in small sections. This gives you more control and ensures you don’t miss hidden fur.
- Common Mistake: Scrubbing too hard can damage fabric. Use gentle, consistent strokes for best results.
With these specialized methods, you’ll finally conquer the most persistent dog fur and restore your car’s clean look.
Maintain a Fur-Free Car with Preventive Strategies
Now that your car’s upholstery is spotless, let’s keep it that way. Prevention is the most powerful solution if you want to avoid weekly deep cleans. A few smart habits and tools will help you maintain a fur-free vehicle long after your initial cleanup.
First, consider seat covers specifically designed for pet owners. Look for machine-washable, waterproof options that fit your seats snugly. These covers catch most shed fur and can be tossed in the wash, saving you hours of cleaning time.
Next, prep your pup before each ride. Brush your dog thoroughly to remove loose fur before they hop into the car. A quick five-minute brushing session outside reduces up to 80% of the hair that would otherwise end up on your seats.
Keep a portable lint roller or sticky tape in your glove box. After each trip, do a quick sweep of the upholstery. It takes less than a minute and prevents buildup.
For larger messes, a handheld vacuum with a pet hair attachment is your go-to for spot cleaning.
Here’s a practical example: After adopting a husky, Mike installed washable car seat covers and dedicated a lint roller to his center console. He brushes his dog before every outing. Now, he spends just a few minutes each week on maintenance—and his car stays fur-free despite daily trips to the dog park.
- Install washable seat covers.
- Brush your dog before car rides.
- Keep a lint roller or sticky tape handy.
- Vacuum regularly with a pet hair attachment.
Pro Tip: Consider using a dog hammock in the back seat. It protects both the upholstery and your dog, and it’s easy to shake out between washes.
Common mistake: Waiting until fur is visible before cleaning. By then, it’s already embedded—routine prevention is faster and more effective.
With these preventive strategies, you’ll spend less time on cleanup and more time enjoying your rides—fur-free.
Next Steps
Now you’ve got a clear action plan for keeping your car free from persistent pet hair. By combining the right tools with proven techniques, you’ll save time and frustration—just like Sam, a daily commuter who cut his weekend cleaning routine in half by sticking to these steps.
To make the most of your efforts, set a regular schedule for quick cleanups and invest in seat covers or lint rollers to tackle shedding before it gets out of hand. If you ever feel overwhelmed, remember: consistent, small actions are far more effective than rare, deep cleans.
Ready for your next drive? Take five minutes today to put these strategies into practice. Your car—and your passengers—will thank you for the fur-free ride.