
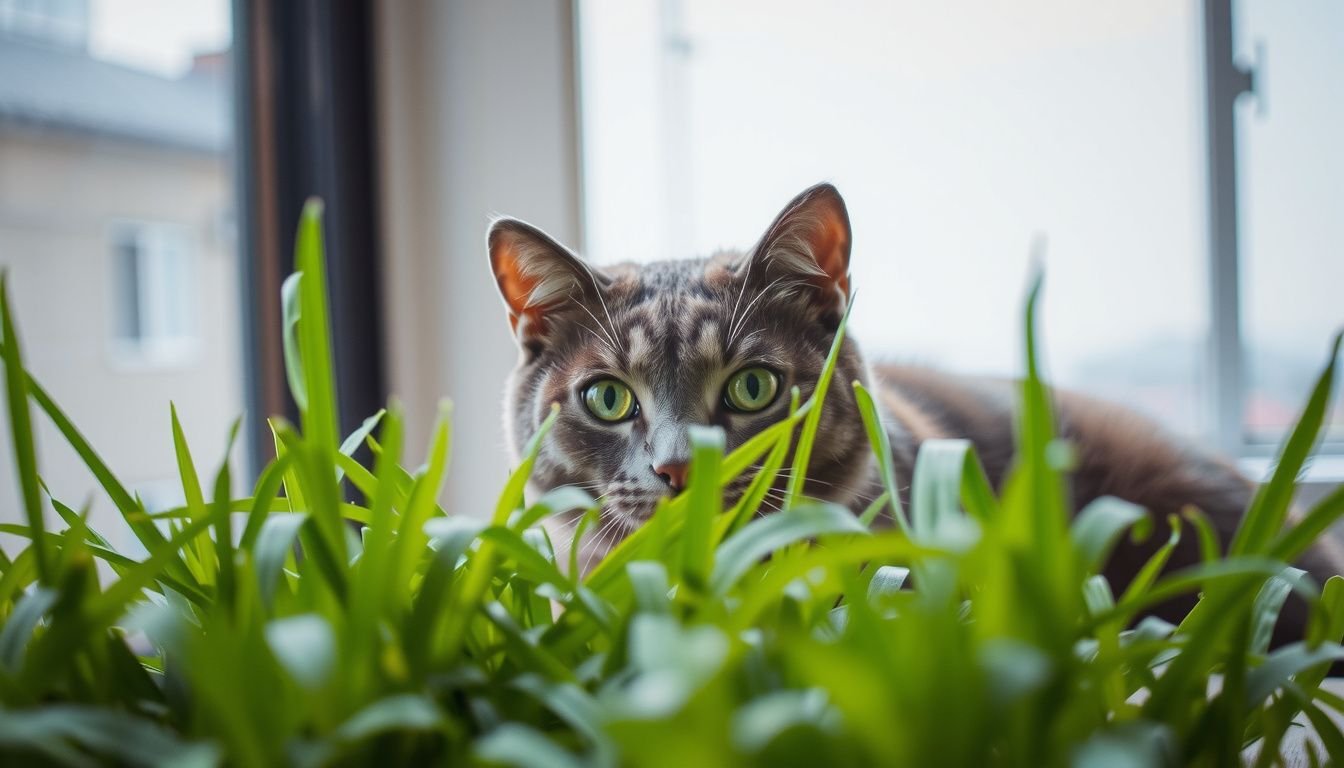
How do you take care of cat grass so it stays green, safe, and worth your time? You’re not alone—cat grass often looks great for a week, then turns yellow, molds, or collapses. With a few simple habits, you can keep it thriving indoors and reduce mess in your home.
I’ve grown cat grass in small apartments and busy households, and the same fundamentals always win: the right seed, shallow soil, bright light, and controlled watering. You’ll learn what cat grass is, how to plant it correctly, where to place it, and how to prevent mold and pests. Use these steps and you’ll get thicker blades, longer life, and happier nibbling.
What Cat Grass Is and Why Your Cat Wants It
Cat grass is usually young cereal grasses—most often wheat, oat, barley, or rye—grown for safe nibbling. It’s not catnip, and it doesn’t “drug” your cat; it’s mainly fiber and moisture.
Your cat may chew it to help move hair through the digestive tract, ease mild stomach upset, or satisfy a natural grazing instinct. Some cats also like the texture and the fresh smell.
Cat grass isn’t a cure-all, but it can be a healthier alternative to chewing houseplants. If your cat eats plants obsessively, vomits frequently, or stops eating, you should check with your veterinarian.
- Best use: supervised nibbling, a few minutes per day
- Not a replacement: for balanced food or medical care
- Big win: reduces interest in toxic plants
Choose the Right Cat Grass Type and Growing Setup
Start with fresh, labeled seed meant for pets or sprouting. Old seed is a common reason for patchy growth and weak blades. Wheatgrass is sturdy; oats grow thick and sweet; barley grows fast; rye is hardy but can be coarser.
Your container matters more than people think. Choose a shallow tray with drainage holes and a catch saucer. Without drainage, your grass is one overwatering away from rot.
Use a simple, clean medium. A basic potting mix works, or a seed-starting mix if you want lower mold risk. Avoid heavy garden soil indoors—it compacts and stays wet too long.
- Shallow tray (1.5–3 inches deep)
- Drainage holes + saucer
- Clean potting or seed-starting mix
Planting Cat Grass: Soil Depth, Seeding, and First Watering
Fill your container with 1–2 inches of lightly packed soil. You want it firm enough to support roots, but not compressed like clay. Level the surface so water spreads evenly.
Scatter seeds densely in a single layer; slight overlap is fine. Press them gently into the soil, then cover with a thin layer (about 1/8–1/4 inch). Too much soil on top slows germination and increases dampness.
For the first watering, mist or pour gently until the soil is evenly moist, not soggy. If water pools on top, you used too much. Covering with a vented lid or loose plastic wrap for 24–48 hours can speed sprouting, but remove it as soon as you see green to prevent mold.
Light Requirements: Where You Place It for Strong Growth
Light is the difference between thick, upright grass and pale, floppy blades. Place cat grass near a bright window with strong indirect light. A few hours of gentle morning sun is usually fine; harsh afternoon sun can scorch.
If your home is dim, use a small grow light 6–12 inches above the tray. Aim for 10–14 hours of light daily. Rotate the tray every day or two so it grows evenly instead of leaning.
Watch the color. Deep green means you’re close to ideal. Yellowing plus stretching usually means it’s reaching for light.
- Bright window: best everyday option
- Grow light: reliable in winter or apartments
- Rotate tray: prevents lopsided growth
How You Water Cat Grass Without Causing Mold or Rot
Overwatering is the #1 killer. Your goal is consistent moisture with plenty of air in the soil. Water when the top surface feels barely dry, not on a rigid schedule.
Bottom-watering works well: add a small amount of water to the saucer, let the soil wick it up for 10–15 minutes, then dump any leftover. This keeps blades drier and reduces mold on the surface.
Use cool to room-temperature water. If you see standing water, slimy soil, or a sour smell, you’re watering too much or your tray lacks drainage.
- Prefer bottom-watering
- Empty the saucer after 10–15 minutes
- Keep blades dry to limit fungus
Temperature, Airflow, and Humidity: Keep It Thriving Indoors
Cat grass grows best in normal indoor temperatures, roughly 60–75°F (16–24°C). Heat vents and radiators dry it out fast, while cold windowsills can slow growth.
Airflow is your mold prevention tool. Keep the tray in a spot with gentle circulation, not a sealed corner. If your home is humid, a small fan on low across the room (not blasting the grass) can help.
Avoid misting in humid rooms; it wets the blades and invites fungus. Instead, water the soil only. If the tips dry out, your air may be too dry—move the tray away from heat sources before you increase watering.
Trimming, Harvesting, and Regrowth: Make It Last Longer
Let the grass reach 4–6 inches before offering it. Short, newly sprouted blades pull out easily, which makes a mess and stresses the roots. Once it’s established, your cat can graze without uprooting everything.
Trim to keep it tidy and encourage even growth. Use clean scissors and cut the top third, not down to the soil. Removing yellow tips also improves appearance and reduces decay.
Real-world example: you keep a tray on your kitchen windowsill. Every Sunday, you trim it to about 4 inches, bottom-water twice that week, and rotate it every other day. The tray stays usable for about 2–3 weeks instead of collapsing after one.
Common Problems: Yellowing, Wilting, Mold, and Pests
Yellowing usually comes from low light, old seed, or soggy roots. Increase light first, then adjust watering. If the base smells musty, replace the tray—root rot won’t reverse.
Wilting can mean underwatering, heat stress, or a shallow tray drying too fast. Check the soil moisture and move it away from direct heat. If your cat chews it down to stubs daily, growth will stall—offer it for short sessions.
Mold looks like white fuzz at the soil line. Improve airflow, bottom-water, and remove any cover. Pests are uncommon indoors, but fungus gnats can appear in wet soil.
- Yellow + stretchy: more light
- White fuzz: less moisture, more airflow
- Gnats: let surface dry slightly between waterings
Safety and Hygiene: When to Replace Cat Grass and Clean Up
Replace cat grass when it’s mostly yellow, smells sour, shows persistent mold, or becomes slimy at the base. Most trays last 10–21 days depending on light, watering, and how hard your cat grazes.
Keep it clean for your cat’s health. Remove loose blades from the tray and surrounding floor daily, especially if your cat vomits after chewing. If vomiting is frequent or contains blood, stop offering grass and contact your veterinarian.
Wash the container between batches with hot water and dish soap, then rinse well. Skip harsh cleaners that can leave residues. Starting each batch with a clean tray dramatically lowers mold and gnat problems.
60-Second Recap
You keep cat grass healthy by controlling three things: light, moisture, and cleanliness. Use fresh seed, a shallow tray with drainage, and bright light so blades grow thick instead of pale and floppy. Water lightly—prefer bottom-watering—and never let it sit in a full saucer.
Keep airflow gentle to prevent mold, and trim the top third to extend the tray’s life. If you see sour smells, slime, heavy yellowing, or recurring mold, replace the grass and wash the container before replanting.
- Bright light (or a grow light) = strong growth
- Bottom-water, then empty the saucer
- Airflow beats mold
- Trim to 4–6 inches for longer use
- Replace at mold, slime, or sour odor